Jihosoft Photo Recovery User Guide
Jihosoft Photo Recovery is really complete a Do-It-Yourself data recovery tool helps you recover deleted photos, videos and audios. No technical skills required, just a few button clicks, you can get back your lost photos.
Part 1. Recover Photos, Videos and Audio Files
Run Jihosoft Photo Recovery and Choose Recover Photo
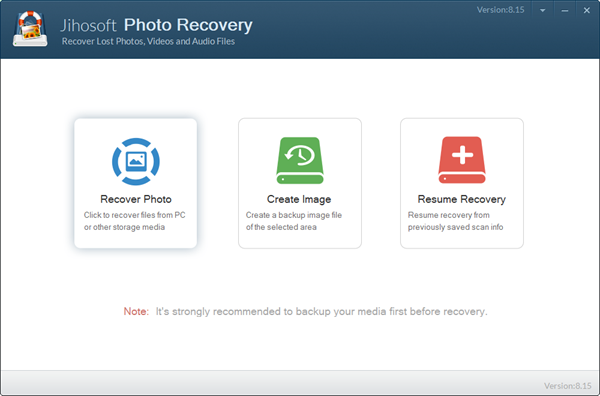
After installation, the program should run by itself. You can also double-click the program icon on your desktop. Then choose “Recover Photo” to proceed.
Select a Media for Recovery.
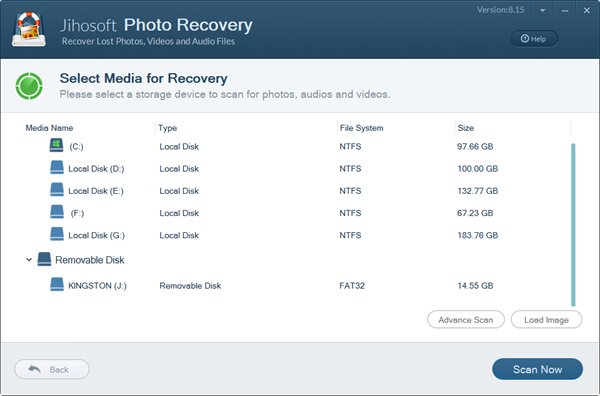
You can choose a disk drive of your computer, a removable disk or an image you have created.
Choose Advanced Scan for Format Filtering
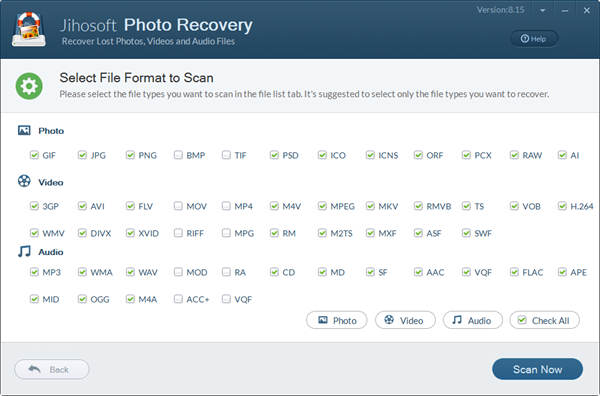
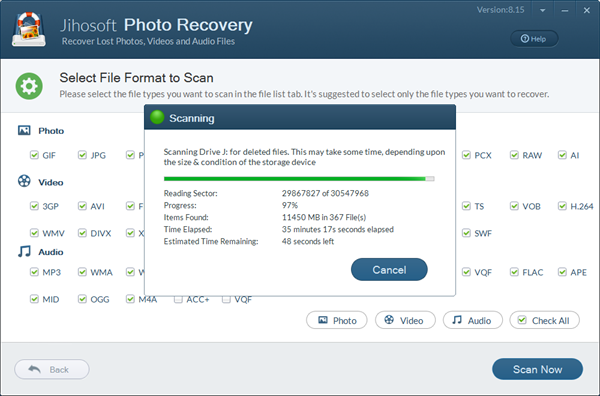
Click “Advanced Scan” button, and then select the possible formats of your lost files. It is suggested to check only the file types you need in order to save time.
Click Scan Now
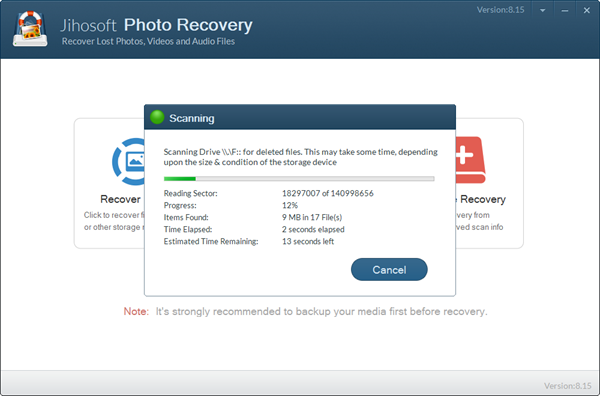
Once you have set down the formats, click “Scan Now” button. A small window will display the progress information.
Preview Photos, Videos and Audio Files
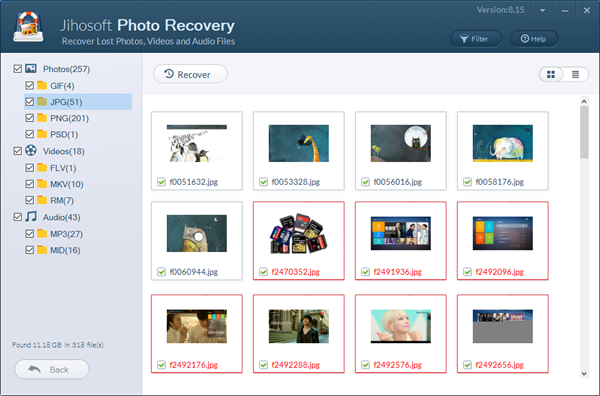
After scanning, all the found files will be listed in category. You can preview all files in list or in icons. Filter feature can quickly help you find the files you need according to file size.
Mark Files and Click “Recover”
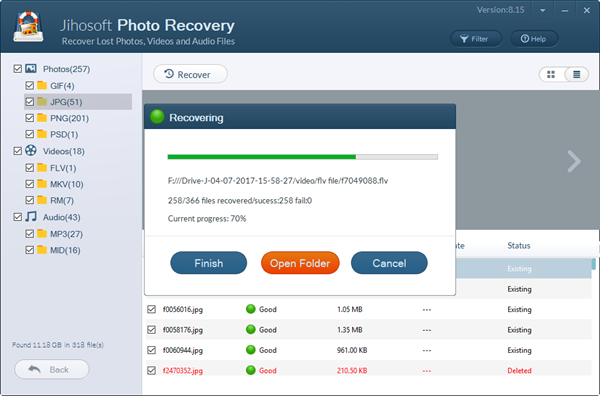
Mark all the files you need, and then click “Recover” button. You’ll need to set a location to store those files.
Part 2. Create Image
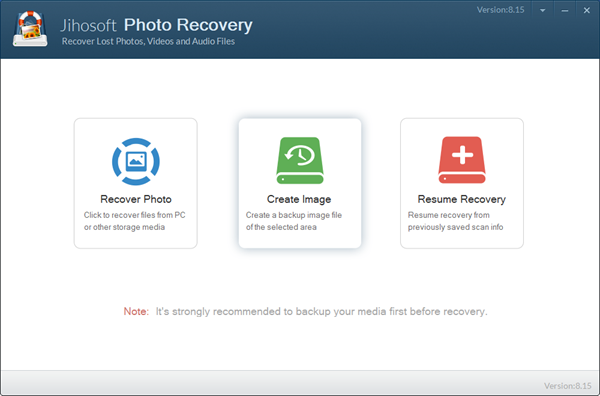
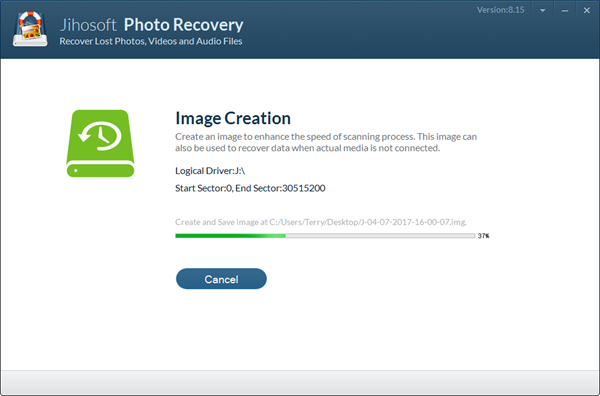
Image file can enhance the speed of scanning, and it is useful when you want to recover lost data when the actual media device is not connected.
Run Jihosoft Photo Recovery and Choose Create Image
Select a Media to Create Image
Set a Location for Image File
Wait Image Creation to Complete
Part 3. Resume Recovery
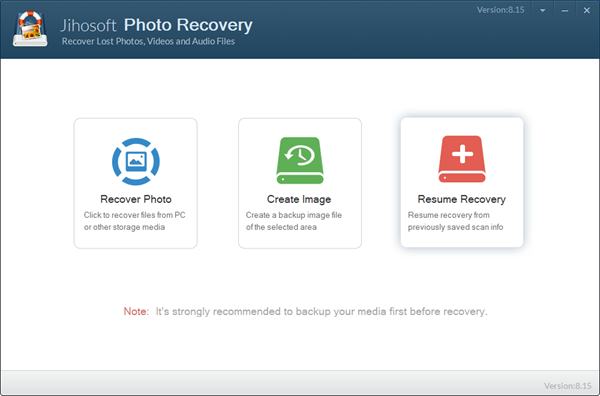
If your scanning is interrupted, the progress will be recorded. You can continue the latest scanning at the break point with Resume Recovery function.
Run Jihosoft Photo Recovery and Choose Resume Recovery
Wait the Resumed Recovery to Finish
