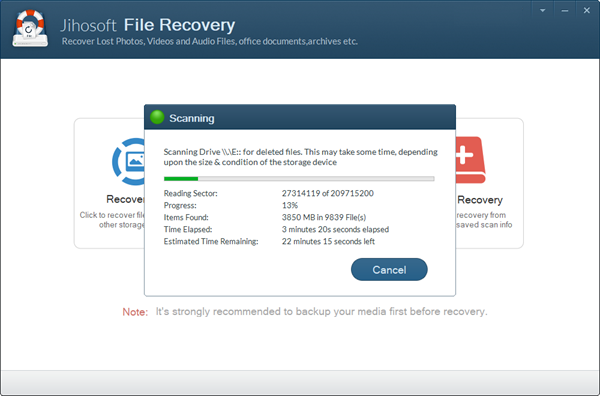
User Guide of Jihosoft File Recovery
Jihosoft File Recovery is the advanced Data Recovery tool with user-friendly interface to accomplish the process of recovering deleted/formatted/damaged documents, photos, music, video, email, etc from Windows-based hard drives and external USB drives, memory card, mobile phone, digital cameras, etc.
Part 1. Recover Files
Run Jihosoft File Recovery and Choose Recover File
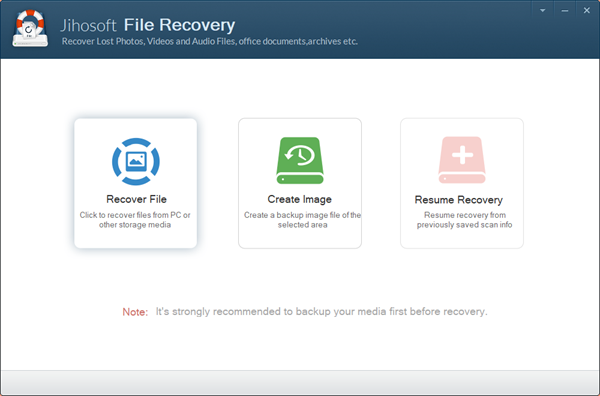
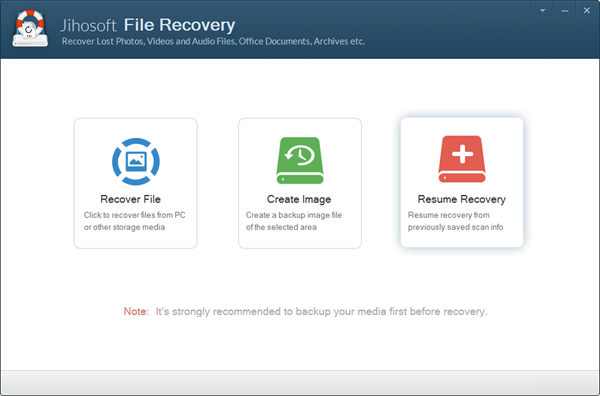
Double click the installation package to install the free trial version of Jihosoft File Recovery on your computer. After that, click the app icon to run it. On the main screen, select Recover File.
Choose Partition to Scan for Lost Files
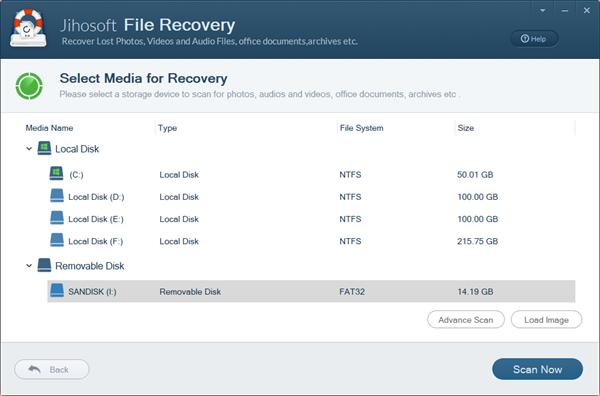
The program will detect all the local disks and connected external storage devices. You can also choose Load Image if you have created images files. Select and check the media device that you want to recover files from.
Select File Format to Scan
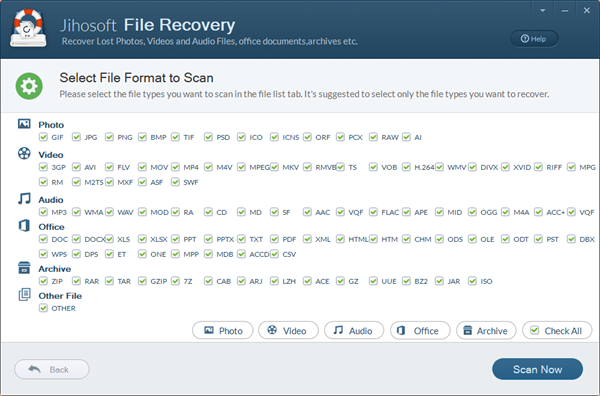
Click “Advance Scan” button, and then select the file types you want to recover in the file list tab. For example, if you only want to recover jpg files, make sure you select jpg only. This will greatly improve the file scanning performance. Click Scan Now after that.
Preview Scanning Results
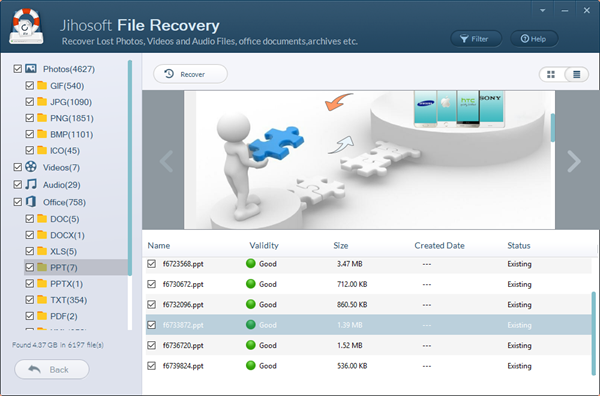
When the scan is over, all the recoverable files will be listed in the left panel by folders. You can view the file’s details such as file name, size, type, modified time and contents in the right panel. Click the upper-right button to switch between List mode and Icon mode freely.
Recover Lost Files
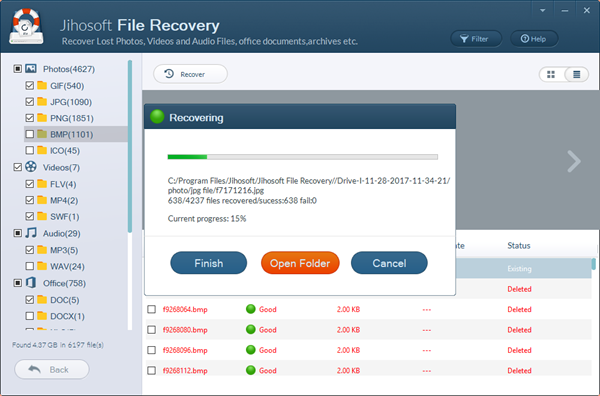
Check the files you want to recover, and then hit the Recover button in the top to start the file recovering process.
Part 2. Create Image
Image file can enhance the speed of scanning, and it will work as a backup if you want to recover lost data while the actual media device is not connected.
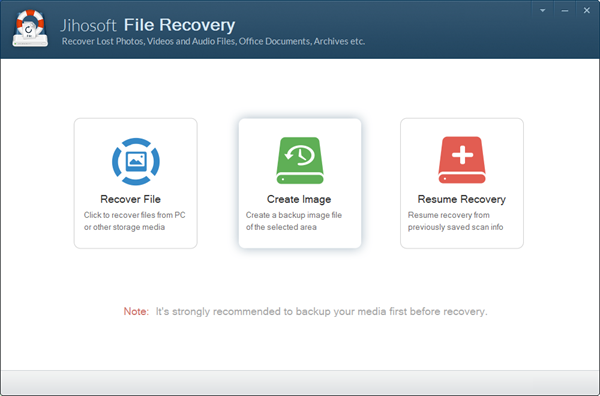
Step 1. Run Jihosoft File Recovery and choose Create Image.
Step 2. Select a media to create image.
Step 3. Set a location for the image file.
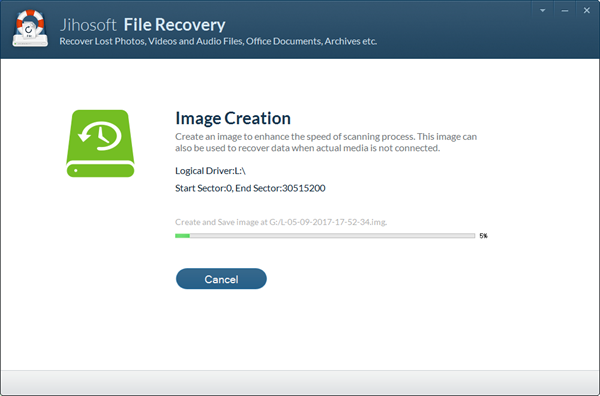
Step 4. Wait Image Creation to complete.
Part 3. Resume Recovery
If your scanning is interrupted, the progress will be recorded. You can continue the latest scanning at the break point with Resume Recovery function.
Step 1. Run Jihosoft File Recovery and choose Resume Recovery.
Step 2. Wait the resumed scanning to finish.
